Login to the Guacamole server using your assigned username and password
Login to the nlstu-s1.nl.northweststate.edu system using your assigned username and password
Start the VirtualBox program by clicking the Activities menu, typing VirtualBox into the Type to search field then clicking Oracle VirtualBox button
Click the Machine menu then choose the New... option
Type in yourusername-vblab in the Name field
If necessary, change the OS field to read Microsoft Windows
If necessary, change the OS Version field to read Windows 11 (64 bit)
Click the Next button
Change the Base Memory field to read 6144 MB
Change the Disk Size of the drive to 60 GB
Click the Next button
Click the Finish button
Make sure the machine you just created is selected in the Oracle VM VirtualBox window
Click the Settings button
Select Network
Click the Expert tab at the top of the window
Pull down the Attached to menu and choose the option labeled Internal Network
Type Introduction-Lab-yourusername into the Name field
Click OK
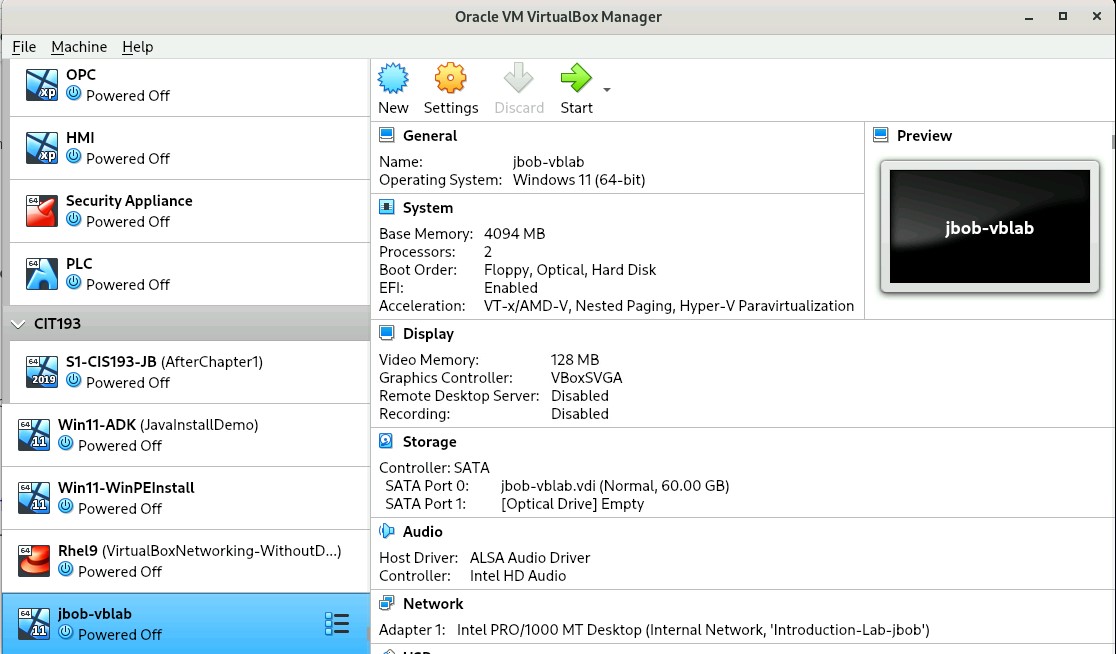
Make sure the machine you just created is selected in the Oracle VM VirtualBox window
Open the Machine menu then select Tools->Details
If necessary resize the window so that the machine details shows everything from the General category down through the Network category
Take a screen shot of the Oracle VirtualBox Manager window with the yourusername-vblab virtual machine selected, name it vblab-1.jpg, and upload it to the class web site ( Example )
Detailed instructions to do this may not be included in future lab instructions, it is your responsibility to know the proper steps necessary to create a virtual machine. This section of the lab would normally be written as:
Create a new Virtual Machine using the following settings:
Guest Operating System Type: Microsoft Windows
Guest Operating System Version: Windows 11 (64 bit)
Virtual machine name - yourusername-vblab
Memory: 6144 MB
Hard drive size: 60 GB
Part 2
Insert (mount) the virtual media (cdrom) into the virtual drive
Make sure the yourusername-vblab system is selected
Click the Settings button
Select Storage
Click the icon that looks like a CD and is labeled Empty
To the right of the Attribute labeled Optical Drive: there is a pull down menu containing an icon that looks like a CD, click this menu
Choose the option Choose a disk file... from the resulting menu
Select the + Other Locations option on the left hand pane of the window
Double click the Computer option in the right pane of the window
Double click the imports folder
Double click the ISO folder
Select the file Win11-EnterpriseEval-25H2.ISO
Click the Select button
Click the OK button
Detailed instructions to do this may not be included in future lab instructions, it is your responsibility to know the proper steps necessary to use virtual media. This section of the lab would normally be written as:
Mount the /imports/ISO/Win11-EnterpriseEval-25H2.iso image
Part 3
Install the Windows 11 operating system on the new virtual machine
Click the Start button
If prompted to select a start-up disk click Cancel
Click the Do not show this message again option in any VirtualBox - Information dialog boxes that appear
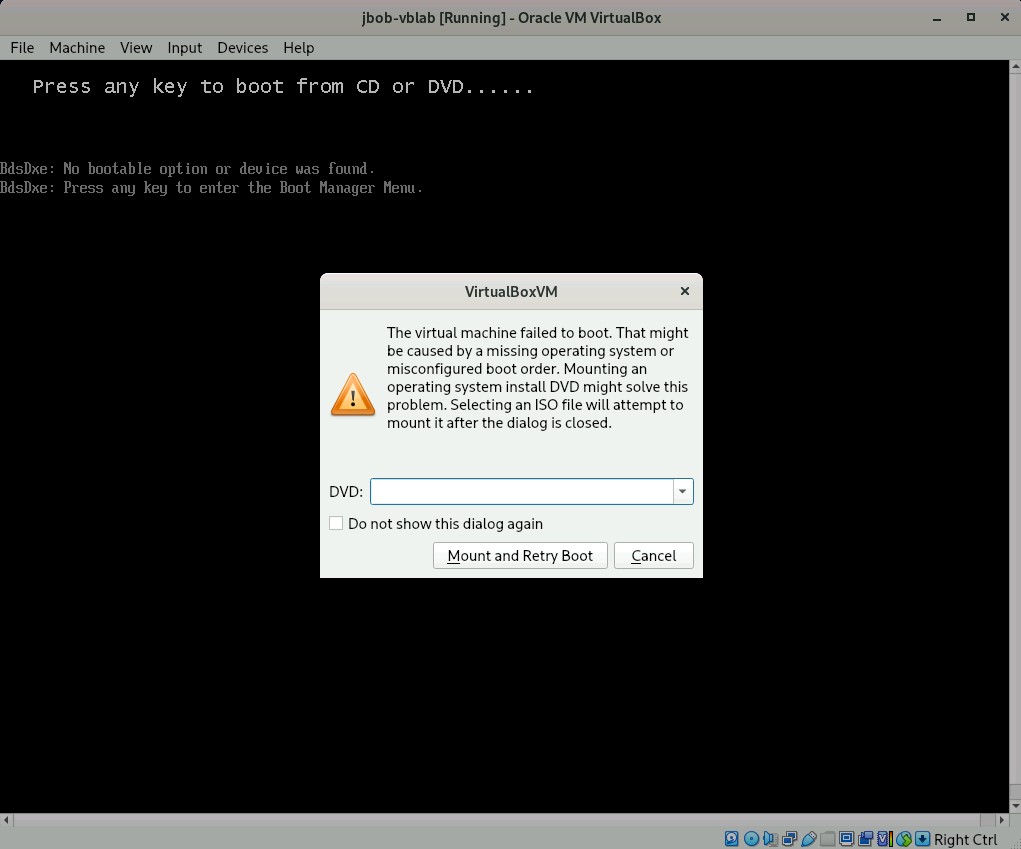
When you see the text Press any key to boot from CD or DVD click in the VirtualBox window and press the <SPACEBAR>
If you do not press the <SPACEBAR> quickly enough the EFI shell program will error out and a "failed to boot" error will appear ( Example )
If the "failed to boot" error appears you can click Cancel in the error message menu, go to the Machine menu, choose Reset and try again
When prompted, verify that the installation settings are correct by clicking Next
NOTE: There are no mouse or video drivers installed on the system yet so the mouse may be difficult to work with
When prompted, verify that the keyboard settings are correct by clicking Next
Select the Install Windows 11 option
Check the box labeled I agree everything will be deleted including files, apps and settings
Click Next
Review the license agreement
Click Accept
Make sure the option Drive 0 Unallocated Space is select then click Next at the Where do you want to install Windows? dialog box
Review the installation options then click Install
Wait... it could take up to thirty minutes before you get to the next step
Select United States when you see the Is this the right country or region page
Click Yes
Select US when you see the Is this the right keyboard layout or input method page
Click Yes
Click Skip when you see the Want to add a second keyboard page
Click I don't have internet when you see the Let's connect you to a network page
Type yourusername into the Enter your name textbox
Click Next
Type Password01 into the Enter a password textbox then click Next
Type Password01 into the Password confirmation textbox then click Next
Select a security question from the Security question (1 of 3) pull down menu
Type an answer to the security question then click Next
Select a security question from the Security question (2 of 3) pull down menu
Type an answer to the security question then click Next
Select a security question from the Security question (3 of 3) pull down menu
Type an answer to the security question then click Next
Click Next on the first of the Choose privacy settings for your device windows
Click Next on the second of the Choose privacy settings for your device windows
Click Accept on the final of the Choose privacy settings for your device windows
Wait for the Windows setup process to complete
Type winver into the Search field
When the search results appear, click the winver (Run command) option in the Best match category
Take a screen shot of the Oracle VM VirtualBox window, name it vblab-2.jpg, and upload it to the class web site (Example)
Make sure that the entire Oracle VM VirtualBox window showing the title bar containing the name of the machine (i.e. jbob-vblab) is shown in the screen shot
Part 4
Install Drivers and Optimize Windows for Remote Access
Below the title bar of the Oracle VM VirtualBox window in which your virtual machine is running, select the Devices menu bar option then choose the option labeled Insert Guest Additions CD image...
Back in the VM, open PowerShell as the administrator by right clicking the Start button and choosing either the Windows PowerShell (Admin) or Terminal (Admin) option
Click Yes in the User Account Control dialog box
Type the command d:\VBoxWindowsAdditions.exe
Click Next to start the Wizard
Click Next to accept the default install location
Click Install to start the installation
Click Install if any Windows Security dialog boxes that appear
Click Finish
After the machine has booted click on the Welcome screen to display the login window
Enter in the password Password01 and click the Continue button (the arrow pointing to the right)
Right click on the desktop and choose the Personalize option
Scroll down the page to find and expand the Background category
Change the Personalize your background setting to Solid color
Choose a background color then close the Settings window
Right click the Start button and choose the System option
Scroll down the page then click the Advanced system settings link
Click the Settings... button in the Performance part of the window
Select the Adjust for best performance radio button then click OK
Click OK to close the System Properties window
Close all open windows
Click the Show hidden icons button located in the System Tray
NOTE : The System Tray can be found at the lower right hand corner of the virtual machine and the Show hidden icons button is represented by a ^ character
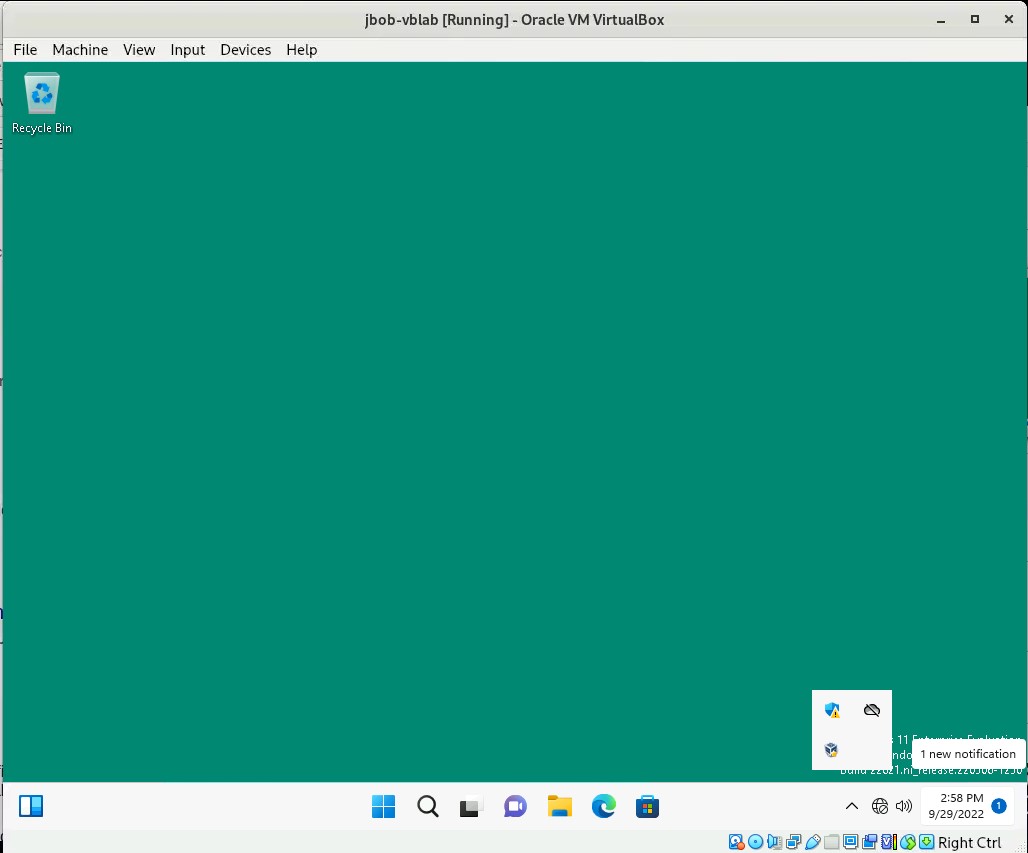
Take a screen shot of the Oracle VM VirtualBox window, name it vblab-3.jpg, and upload it to the class web site (Example)
Make sure that the entire Oracle VM VirtualBox window showing the title bar containing the name of the machine (i.e. jbob-vblab) is shown in the screen shot
Return to the virtual machine, right click the Start menu, expand the Shut down or sign out menu then click Shut down.
Part 5
Take a snapshot (backup) of the machine then break the machine
Make sure the yourusername-vblab system is selected in Oracle VM VirtualBox
Open the Machine menu then select Tools->Snapshots
Click the Take button
Type yourusername-snapshot-1 in the Snapshot Name field
Click OK
Click the Start button
After the machine has booted click on the screen to display the login window
Enter in the password Password01 and click the Continue button (the arrow pointing to the right)
Open the classic command prompt (not PowerShell) as the administrator typing cmd into the Search field, right clicking the Command Prompt icon and choosing the Run as administrator option
Delete the system's boot configuration by typing the command bcdedit /f /delete "{current}" (Example)
Verify that the result of the command is the message The operation completed successfully before continuing on to the next step
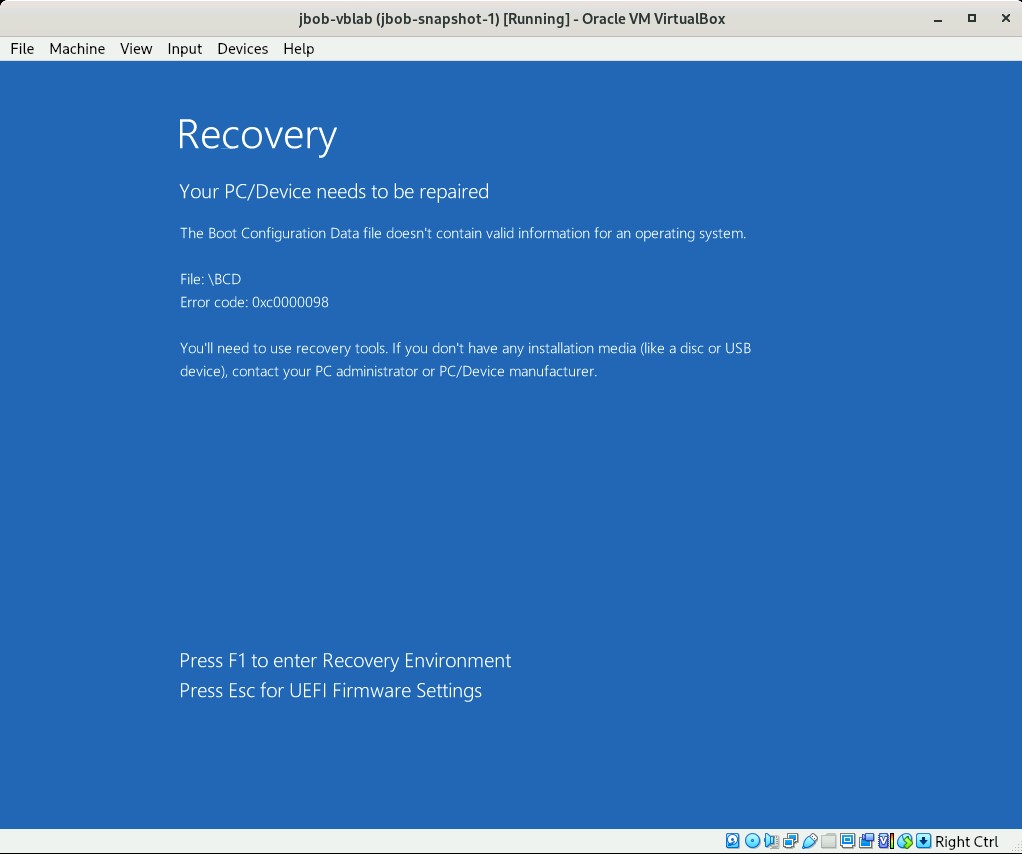
Click the Start button, click the Power button and choose the Restart option
Take a screen shot of the resulting error message, make sure the title bar of the VM is shown, name it vblab-4.jpg, and upload it to the class web site (Example)
Click the File menu found at the upper left hand corner of the Oracle VM VirtualBox window then choose the Close... option
If your mouse gets stuck in the virtual machine, press the <CTRL> button on the right hand side of the keyboard to exit the VM and return the mouse control to the host
Make sure you press the <CTRL> button on the right hand side of the keyboard and NOT the one on the left hand side of the keyboard
Choose the option Power off the machine and click OK
Part 6
Restore the snapshot and verify that the problem is resolved
In the main Oracle VirtualBox Manager window, make sure the yourusername-vblab system is selected
Open the Machine menu then select Tools->Snapshots
Select the snapshot labeled yourusername-snapshot-1
Click the Restore button
Uncheck the box labeled Create a snapshot of the current machine state
Click the Restore button
Click the Start button
After the machine has booted click on the screen to display the login window
Enter in the password Password01 and click the Continue button (the arrow pointing to the right)
Wait for the windows desktop to appear
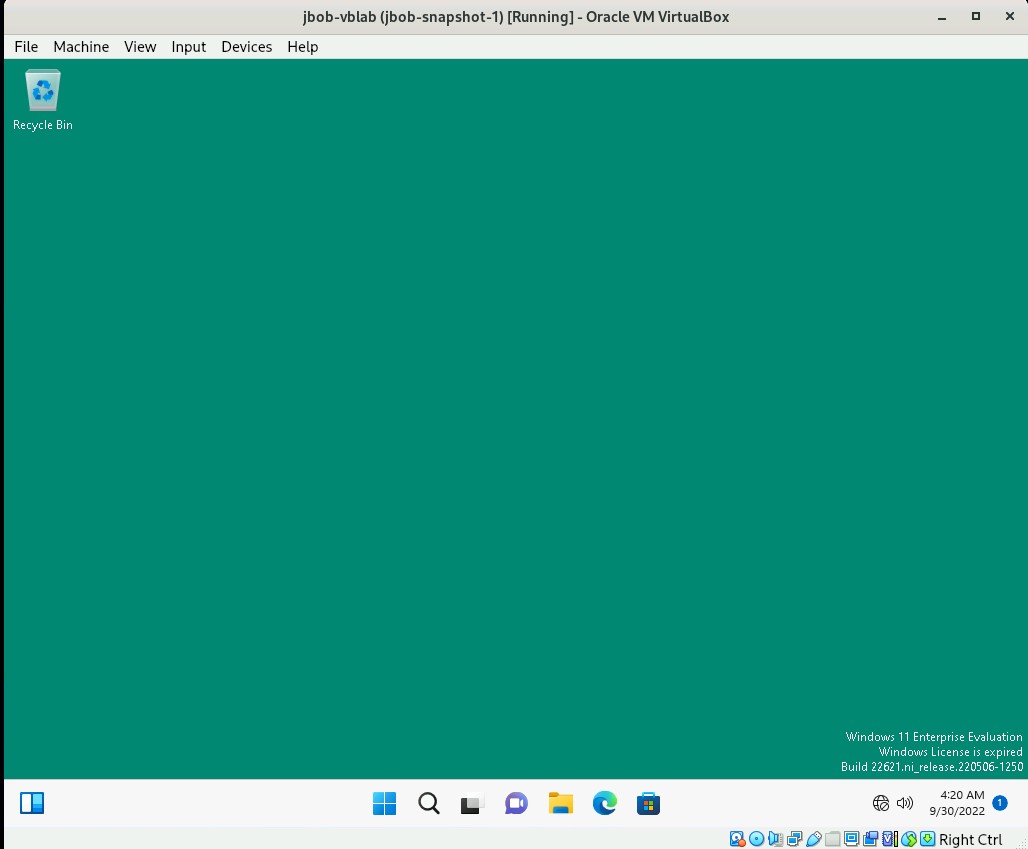
Take a screen shot of the Oracle VM VirtualBox window, name it vblab-5.jpg, and upload it to the class web site (Example)
Make sure that the entire Oracle VM VirtualBox window showing the title bar containing the name of the machine (i.e. jbob-vblab) is shown in the screen shot
Return to the virtual machine and click the Power option found on the Start menu